Plants 101
How To Repot an Orchid
While the average tropical houseplant should be repotted about once a year in fresh potting mix, Phalaenopsis orchids are a whole different repotting scenario. Here’s how to know when it's time to repot your Orchid, and how to do it successfully.

While the average tropical houseplant should be repotted about once a year in fresh potting mix, Phalaenopsis orchids are a whole different repotting scenario. Here’s how to know when it's time to repot your Orchid, and how to do it successfully.
If you’ve had your Phalaenopsis orchid for quite some time (go, you!), you may be wondering where to begin with repotting it. Orchids have a bit of a different repotting process than our standard repotting guide, but don't worry – we got you covered!
In order to get started, you should keep an eye out for signs that it's time to repot your orchid. Generally speaking, your orchid should be repotted every 1–2 years or if the potting media begins to smell. And be sure to wait until your orchid is resting to repot it—meaning when it is not in bloom.
Still not sure? Here are some telltale signs that it’s time to get repotting:
1. It’s overgrown
If you take a look into your orchid’s container and notice that the roots seem too crowded together, it’s time to repot. Other signs include the roots growing out of the drainage holes or overflowing over the side of the pot.
2. Potting mix goes bad
When your orchid uses up all of the nutrients from the potting medium it’s in, it will eventually begin breaking down into compost. Like we mentioned earlier, 1–2 years is our general repotting timeline, but sometimes potting mix may decay sooner, especially if your current pot doesn’t drain properly. If you smell something funky, repot sooner rather than later.
3. The roots look tightly tangled
Orchids’ roots typically grow much closer than other houseplants’ roots, which may make it seem as if they are tangled. As long as your orchid’s roots are intertwined and overlapping loosely, you can wait to repot. If the roots are tangled tightly, it’s time to repot.
 Once you know when your orchid is ready to be repotted, you can follow the following steps:
1. Remove any materials
Remove any stakes in the soil and detach your orchid from any clips.
2. Trim any dead material
If there are dead bloom stalks on your orchid, be sure to cut them at the base to remove. If the bloom stalks happen to be healthy still, you can cut 1" above a node to encourage another bloom spike to develop!
3. Remove orchid
Next, carefully dislodge the orchid from its pot.
4. Trim any dying roots
Once you've removed your orchid from its pot and get a good look at its roots, be sure to trim any dying or decaying roots. Look out for any roots that are brown or especially soft.
5. Get repotting
Place your orchid in a pot 1-2" larger in diameter than its original pot, and then add in new orchid potting mix. Orchids are not potted in regular indoor potting soil, but instead an orchid-specific porous mix that can include sphagnum moss, fir bark, coconut husk, or tree fern fibers.
6. Resume normal care
After your orchid is all settled in its new container, place it back in its usual spot and continuing caring as you would.
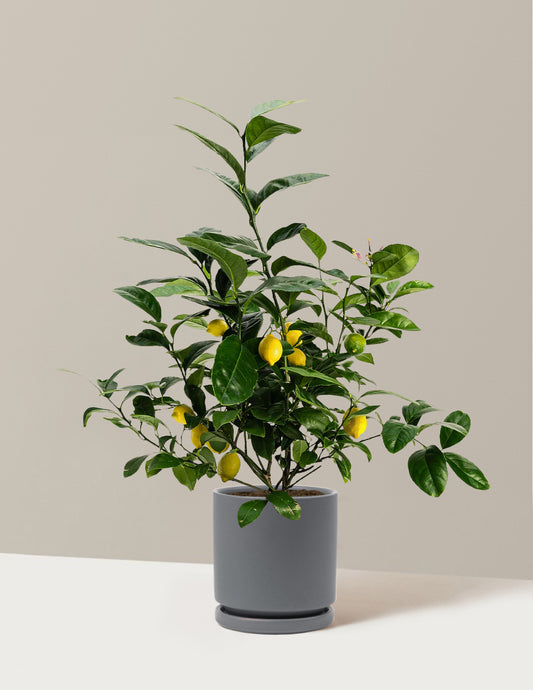
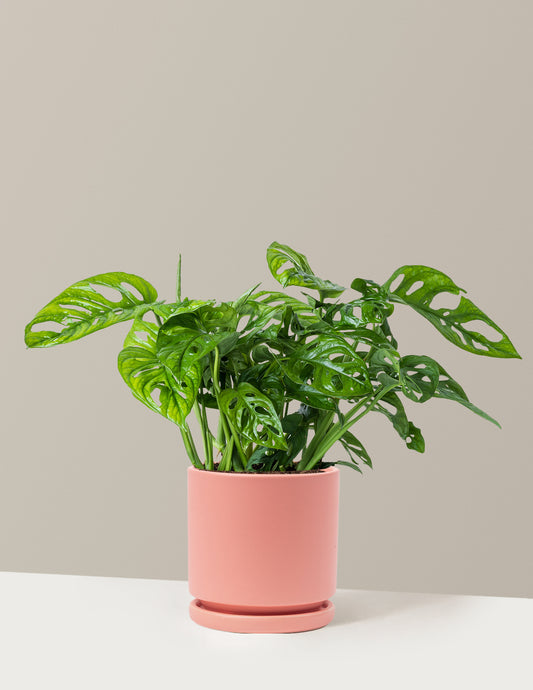
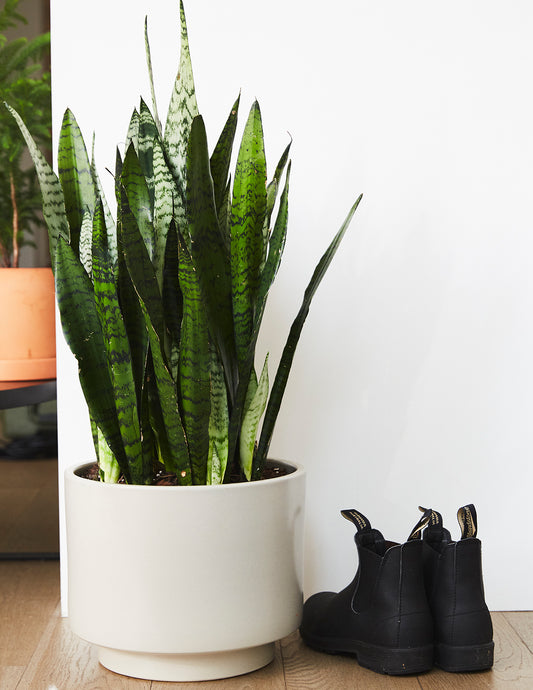
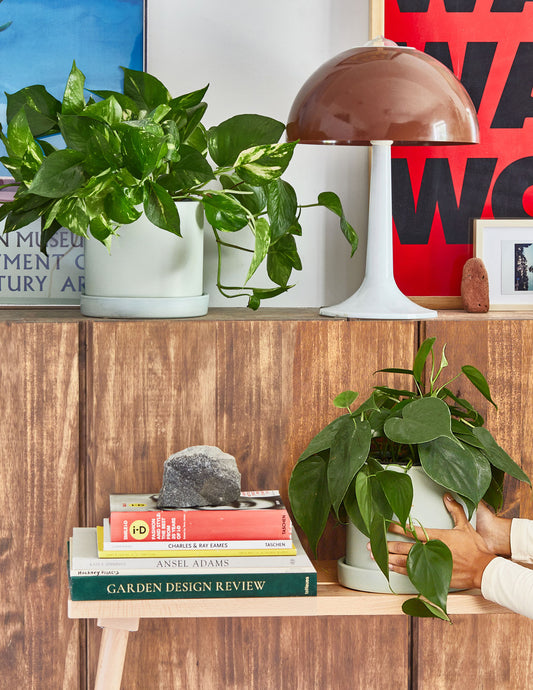
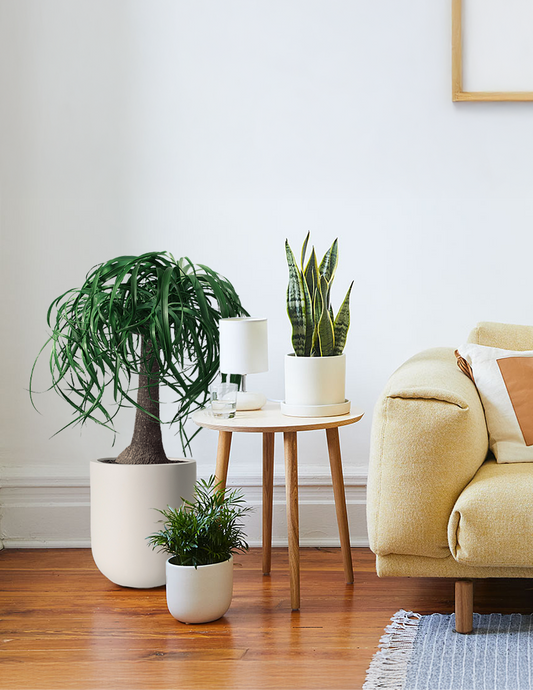
Perfect Pairings For Your Plants
-
-
-
New Arrival
-
-
-
New Arrival


Words By The Sill
Empowering all people to be plant people—a collection of articles from The Sill's team of plant experts across a variety of plant care topics to inspire confidence in the next generation of plant parents. Welcome to Plant Parenthood™.
Do Some Plant Shopping