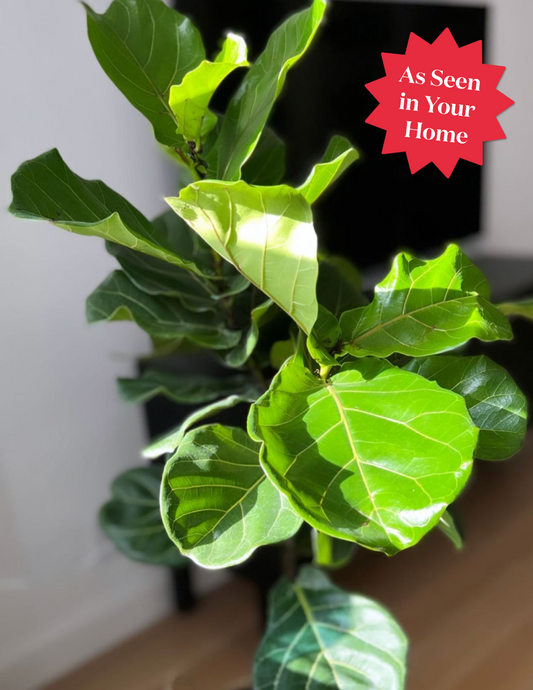
How To Bring Your Plants Indoors for Fall and Winter
Once the dog days of summer have come and gone, it’s time to bring your plants back inside before the nighttime temperatures dip too low. Here are some tips to make sure that your plants’ transition back indoors is safe and healthy.
Once the dog days of summer have come and gone, it’s time to bring your plants back inside before the nighttime temperatures dip too low. Here are some tips to make sure that your plants’ transition back indoors is safe and healthy.
Once the sunny days of summer are behind us and we begin to adjust to shorter days and lower temperatures, it’s time to bring any houseplants you brought outside for the summer back indoors.
If you brought your plants outside, you already know that there are factors to keep in mind to successfully transition your plants’ environment. When bringing your plants back inside, there are a few steps to make sure your plants stay happy and healthy, and that you protect any plants that might have stayed indoors.
5 Steps for Bringing Plants Back Indoors
Step 1: Inspection
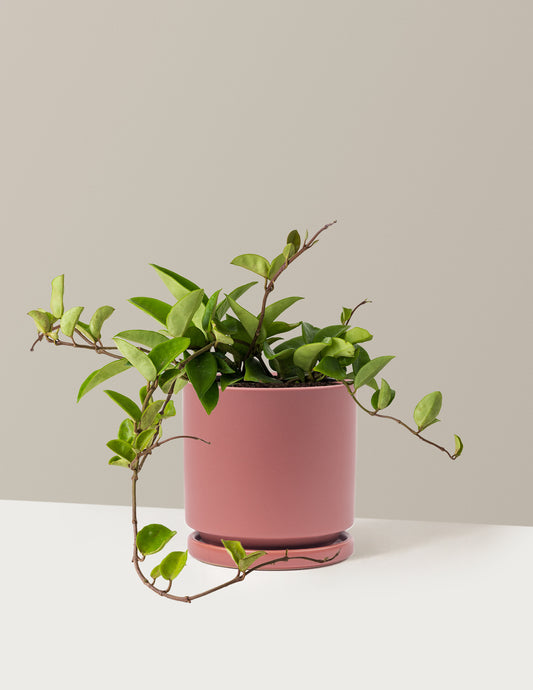
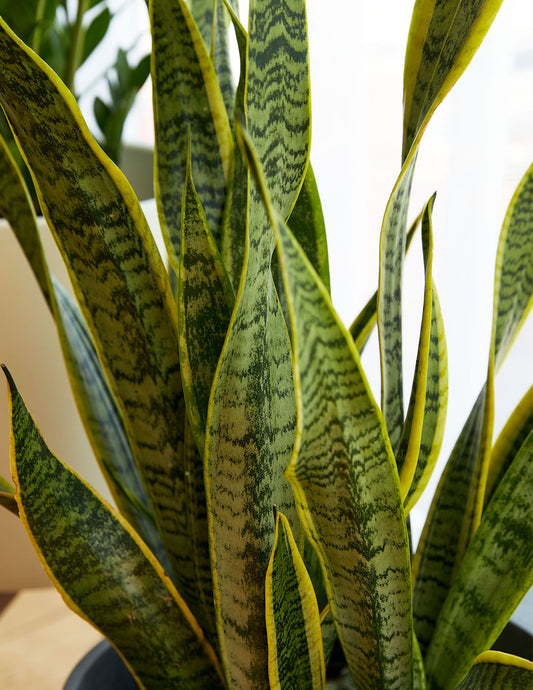
Before bringing any houseplants back inside, be sure to thoroughly inspect them. When plants are left outdoors, they become more susceptible to pests and disease, so you want to make sure to remove the risk of spreading those to the rest of your plants! Check the stems, the tops and undersides of the leaves, as well as the nooks and crevices of certain plants, since that’s where pests like to hide.
Step 2: Prune and Treat
If you do find that your plant has pests, prune off any heavily infested foliage, and treat the plant as needed based on the pest at hand. To determine which pest you have and follow specific treatment plans for each type, head to our pests identification guide.
If there are no pests but you notice a fungal infection, remove any infected leaves to prevent it from spreading, and sterilize any tools (pruners, scissors, or similar) that come into contact with those leaves before using them on other plants.
Any lackluster or damaged foliage that has succumbed to heavy wind drag or unfavorable conditions can be pruned off the plant to enhance the appearance, and help the plant focus its energy on new growth! Leaf cleaning will also be beneficial if there are hard mineral deposits, dust, or debris on your plants' foliage, which can block chlorophyll from absorbing light.
Step 3: Quarantine
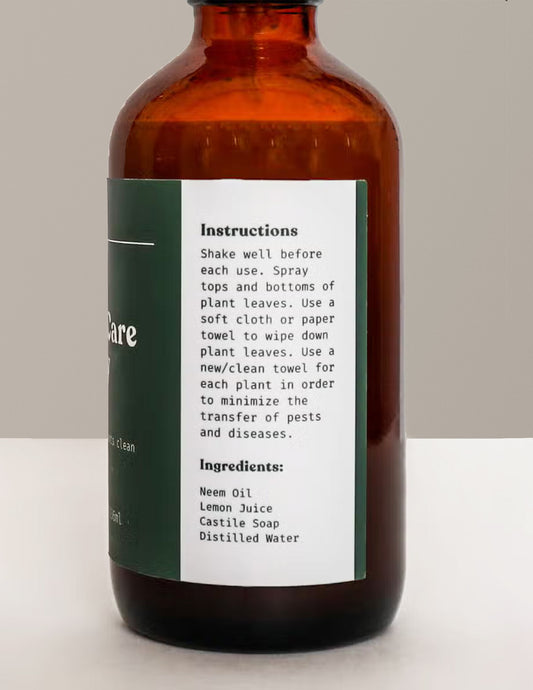
Once your plants are inspected, pruned, and groomed, you can integrate them back into your home. Once inside, we recommend quarantining them for a period of 1–2 weeks away from the rest of your plant collection. Pests can be very small (sometimes even microscopic), so at times even after treatment they can pop up again. Even if you did not notice pests initially, their eggs could be dormant in the soil and hatch indoors. It never hurts to clean all plants, noticeable pests or not, with neem oil or similar before moving them inside.
Step 4: Inspect Again
After your plants have quarantined and acclimated to your home, you should inspect them thoroughly one last time to ensure pests or disease haven’t resurfaced. Prune and treat again if needed. For plants that are good to go, consider refreshing their potting and upgrading their planter size if needed. Head to our repotting guide for signs you need to repot your plant and step-by-step instructions.
Step 5: Assimilate Plants
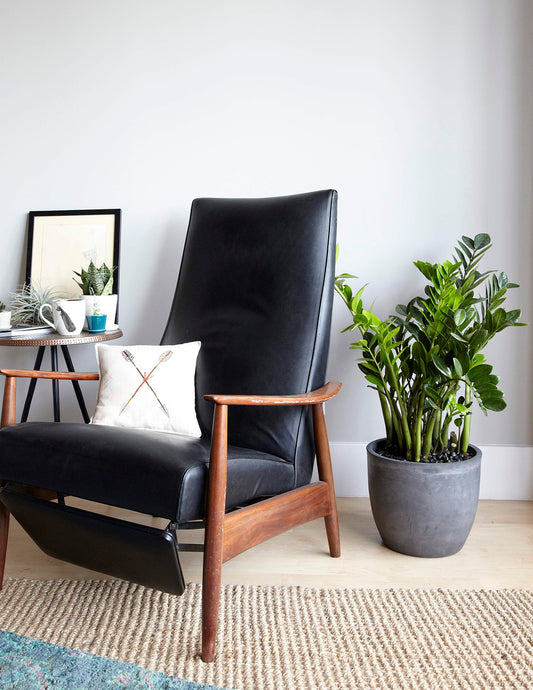
Once your plants are cleared from quarantine and are looking refreshed (and maybe repotted), you can assimilate them into the rest of your indoor jungle! Be sure to follow up with the proper care, including their preferred sunlight and watering conditions. If you notice some leaf drop—do not be alarmed—your plants are adjusting to the lower light levels of being indoors. If you need some extra light inside, consider adding a grow light.
Empowering all people to be plant people—a collection of articles from The Sill's team of plant experts across a variety of plant care topics to inspire confidence in the next generation of plant parents. Welcome to Plant Parenthood™.