Plants 101
How To Plant a Bulb Lasagna
Master the art of layered planting with our guide to the "bulb lasagna." This simple technique uses a single container or small area for in-ground planting to create a living calendar of color, alternating varieties that bloom in succession for a vibrant summer display that lasts for months.

At a Glance:
- Layered Success: Plant bulbs at varying depths, largest at the bottom, smallest at the top, to create a changing display of blooms.
- Drainage is Key: Whether in a container or directly in your garden beds, a well-draining soil is key to healthy bulbs.
- Succession Blooming: This technique ensures a continuous floral show, though Mother Nature may occasionally overlap the seasons.
- Maximize Your Space: Learn the "lasagna" technique to get months of color out of a single footprint.
There is something deeply rewarding about planting a secret and watching it reveal itself over time. In the gardening world, the "bulb lasagna" is the ultimate hidden gem you've been looking for. By layering bulbs with different bloom times on top of one another, either in-ground or in containers, you can create a seasonal display that unfolds beautifully over the growing season.
While you can certainly mix and match based on your favorite colors and bloom times, the most successful displays come from pairing bulbs with identical care requirements. Other than that, the logic remains simple: large, late-bloomers go deep, while smaller, early-bloomers sit near the surface.
When planting true bulbs, always aim for pointy side up so the sprout can easily reach the sun. This can be tricky with corms or tubers, like begonias or anemones, which often look like flat discs or lumpy stones without an obvious top or bottom. If you can’t figure out which way is up, just plant it on its side; the plant will naturally sense gravity and find its own way to the surface!
Step 1: Prep Your Foundation
Success starts with drainage. Bulbs hate "wet feet," so ensuring water can move freely is essential for a healthy display.
-
For Containers: Choose a container that is 12-16" in diameter with drainage holes. You can use any organic, well-draining potting mix and start by filling the bottom third with potting mix before planting your first layer.
-
For In-Ground: Choose an area that gets at least 6-8 hours of direct sunlight daily with well-draining soil. If your soil feels heavy or clay-like, mix in some organic compost to help loosen the texture. Dig a hole roughly 10–12 inches deep to accommodate all your layers.
Step 2: The Bottom Layer (Large Bulbs)
Place your largest bulbs like Asiatic Lilies or Dahlias at the very bottom, about 8-10 inches deep and 2–3 inches apart. Don't worry, their shoots are smart enough to grow around anything planted above them!
Step 3: The Middle Layer (Mid-Sized Bulbs)
Cover your base layer with 2–3 inches of soil, and place your mid-sized bulbs here which is about 5-6 inches in depth. Press them gently into the soil so they stay upright.
Step 4: The Top Layer (Small Bulbs)
Depth: ~3–4 inches. Add another layer of soil and plant your smallest bulbs which is about 3-4 inches deep, like Ranunculus, and cover them with about 1-2 inches of soil. These bulbs are often the first to emerge.
A Little Extra Love: Some bulb packs may contain more than what's needed for your lasagna layers. We encourage you to pot these extras separately, tuck them into garden beds, or share the beauty by gifting them to a friend.
Step 5: Water and Wait
Give your lasagna a thorough watering right after planting to settle the soil. Moving forward, keep the soil moist by watering once the top 2-3 inches have dried out. As the weather warms, you’ll see the foliage emerge. While the leaves often "wake up" at the same time, the flowers are designed to bloom in a natural succession. Keep in mind that Mother Nature is in charge—perfect stretches of sunshine may cause your bloom times to overlap.

Why This Works for Your Space
The bulb lasagna isn't just about beauty; it’s about efficiency. It allows you to enjoy a palette of colors without needing a massive garden plot. By the time the first layer begins to fade, the next is already rising to take its place, keeping your outdoor space vibrant all season long!
FAQs
Can I plant different types of bulbs in the same pot?
Absolutely. That is the core of the "lasagna" method. As long as the bulbs have similar water and light requirements, layering them is a fantastic way to extend the blooming season in a single container or plot.
Which way is up? How do I know which side of the bulb faces the sky?
Most bulbs have a slightly pointed end (the top) and a flatter end with small wiry roots (the bottom). If you’re ever unsure, plant the bulb on its side—it will naturally find its way toward the light!
What should I do after the flowers have finished blooming?
Once the blooms fade, snip off the flower heads but leave the green foliage until it turns yellow and withers. The leaves are busy absorbing sunlight to "recharge" the bulb for next year’s growth.
Do I need to dig up my bulbs for the winter?
It depends on your climate. Many lilies are hardy, but more delicate varieties like Ranunculus or Calla Lilies may prefer to be lifted and stored in a cool, dry place if you live in a region with harsh, freezing winters.
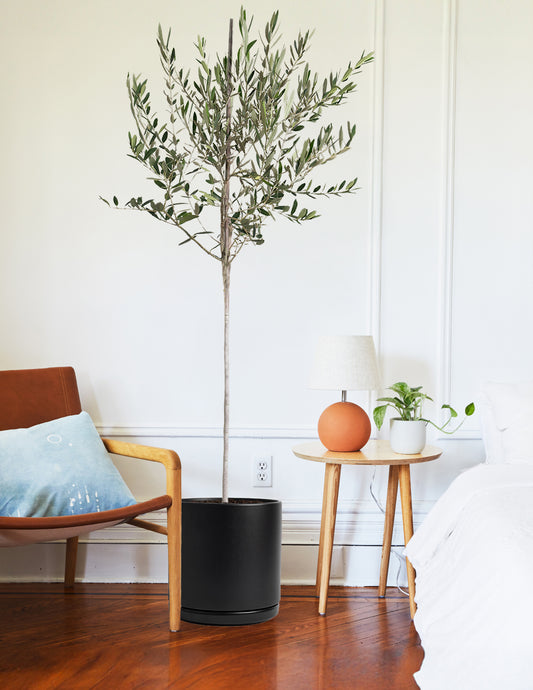
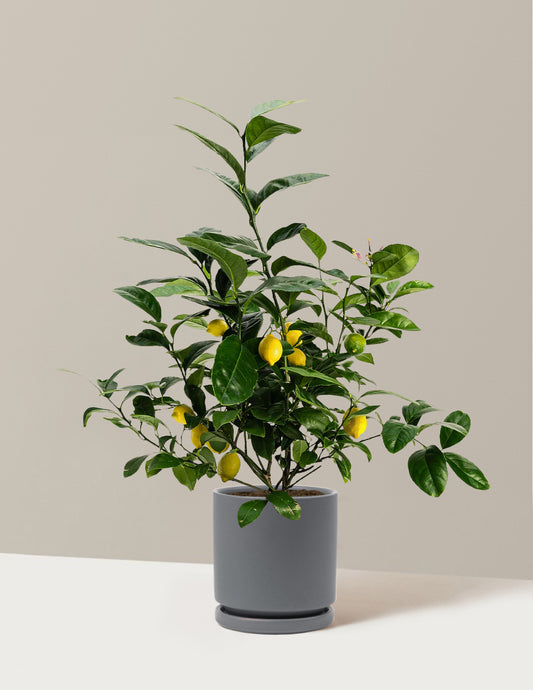
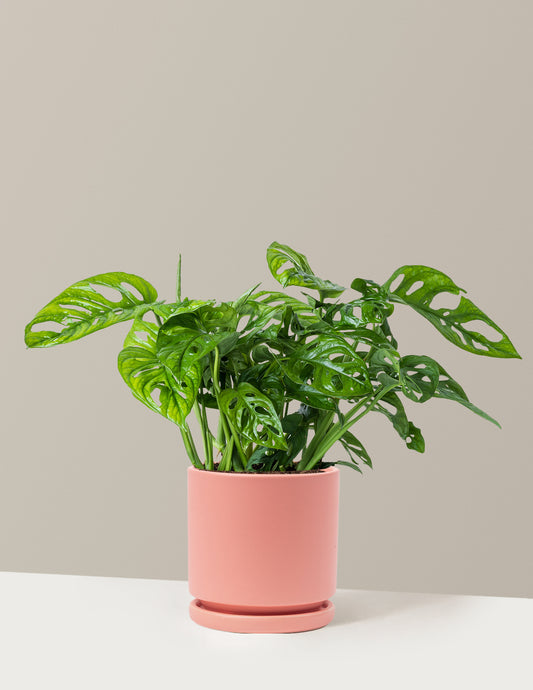
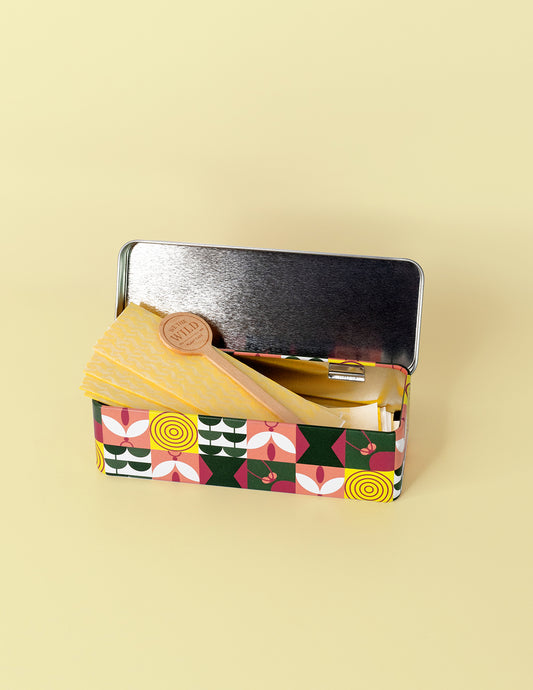
Perfect Pairings For Your Plants
-
-
New Arrival
-
-
New Arrival
-
-
-


Words By The Sill
Empowering all people to be plant people—a collection of articles from The Sill's team of plant experts across a variety of plant care topics to inspire confidence in the next generation of plant parents. Welcome to Plant Parenthood™.
Do Some Plant Shopping