Spooky season is officially here! To help you bring a planty touch to Halloween decorating this year, we created plant-shaped stencils for pumpkin carving. Or, if you are crafting with small children at home (or just want to avoid the workout that is carving a pumpkin), you can use these stencils to paint on the same shapes.
Download the plant stencils here, then check out our video or read on below for step-by-step instructions. If you’re printing stencils for a smaller-sized pumpkin, be sure to adjust the scale percentage in your print settings.
1. Get Carving
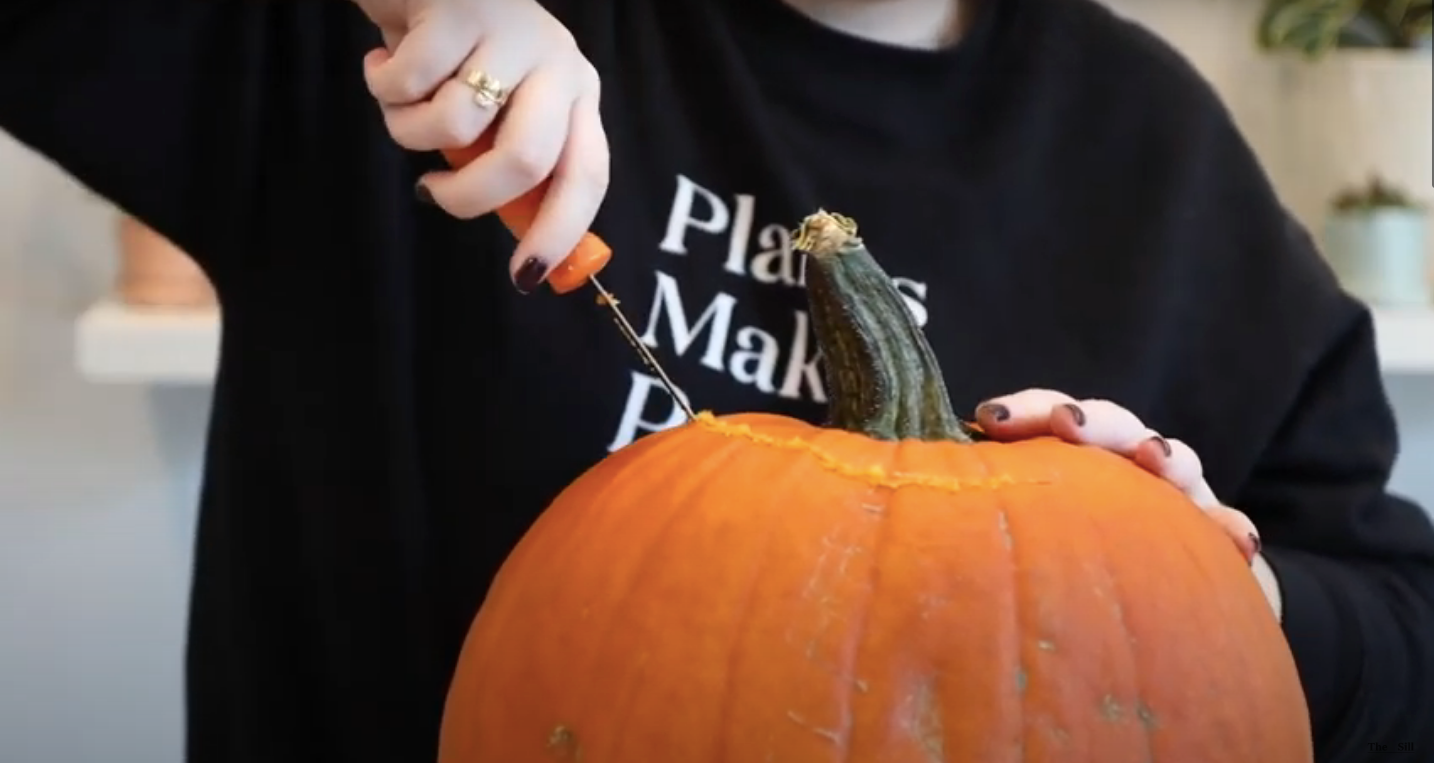
After picking out a pumpkin and cleaning the outside to remove any dirt, it’s time to get carving. Start by cutting out a circle along the top of your pumpkin—you’ll want to make the circle big enough so that you will be able to reach inside.
Once you have cut all the way around, pull out the top of the pumpkin by the stem.
2. Scoop It Out
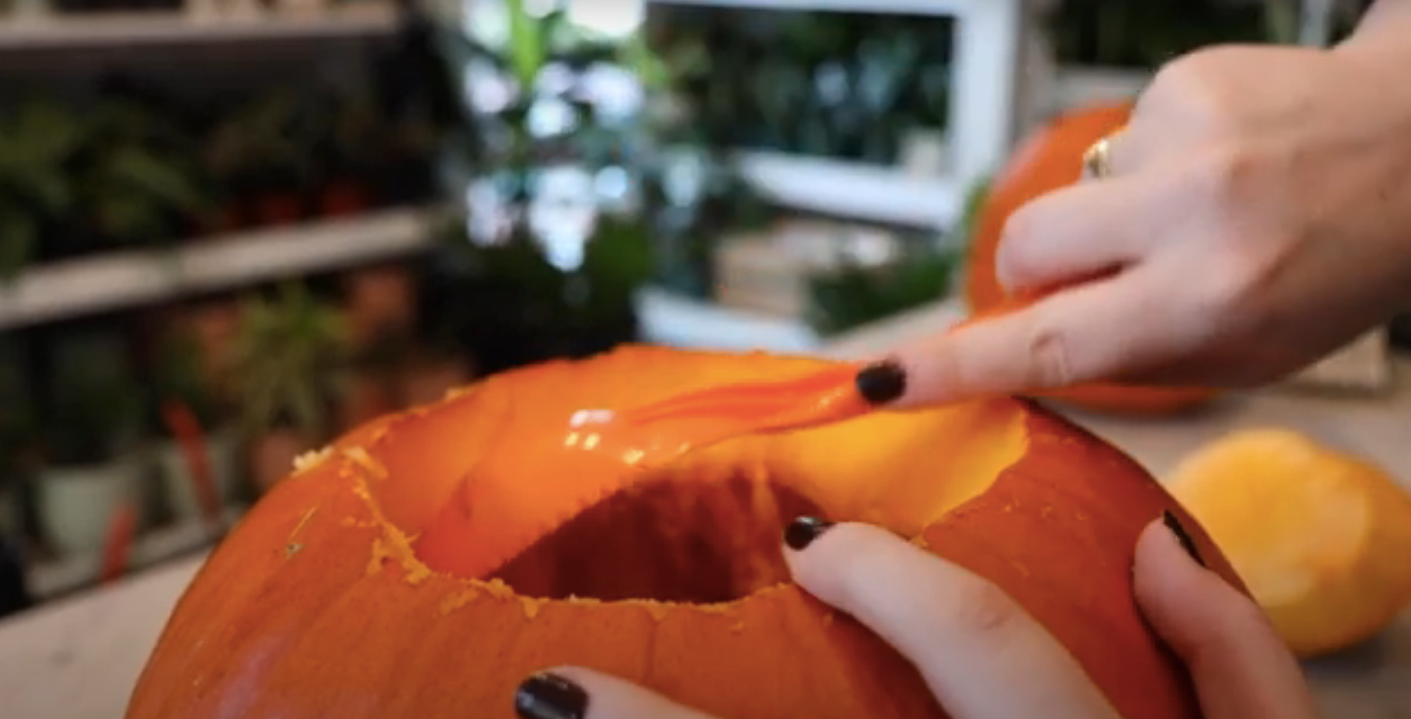
Once the top of the pumpkin is off, start scooping out the insides of the pumpkin (seeds and all!) until it is empty and completely hollow inside.
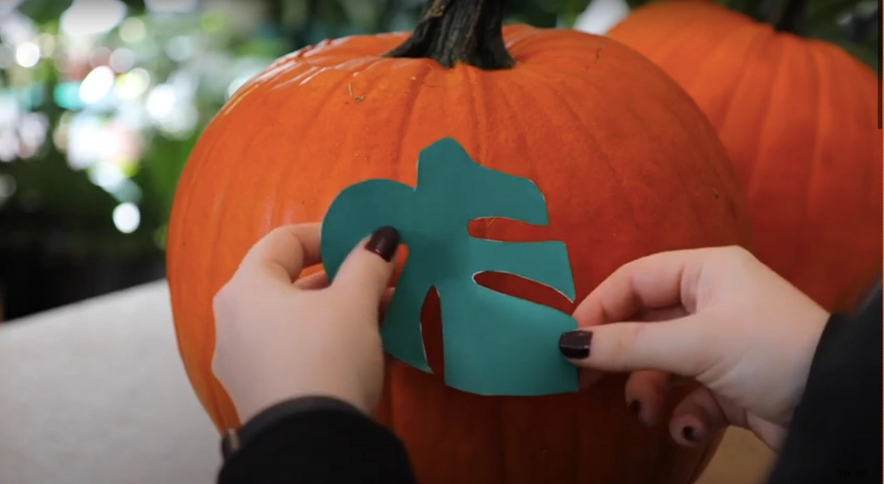
3. Pick Your Stencils + Cut Them Out
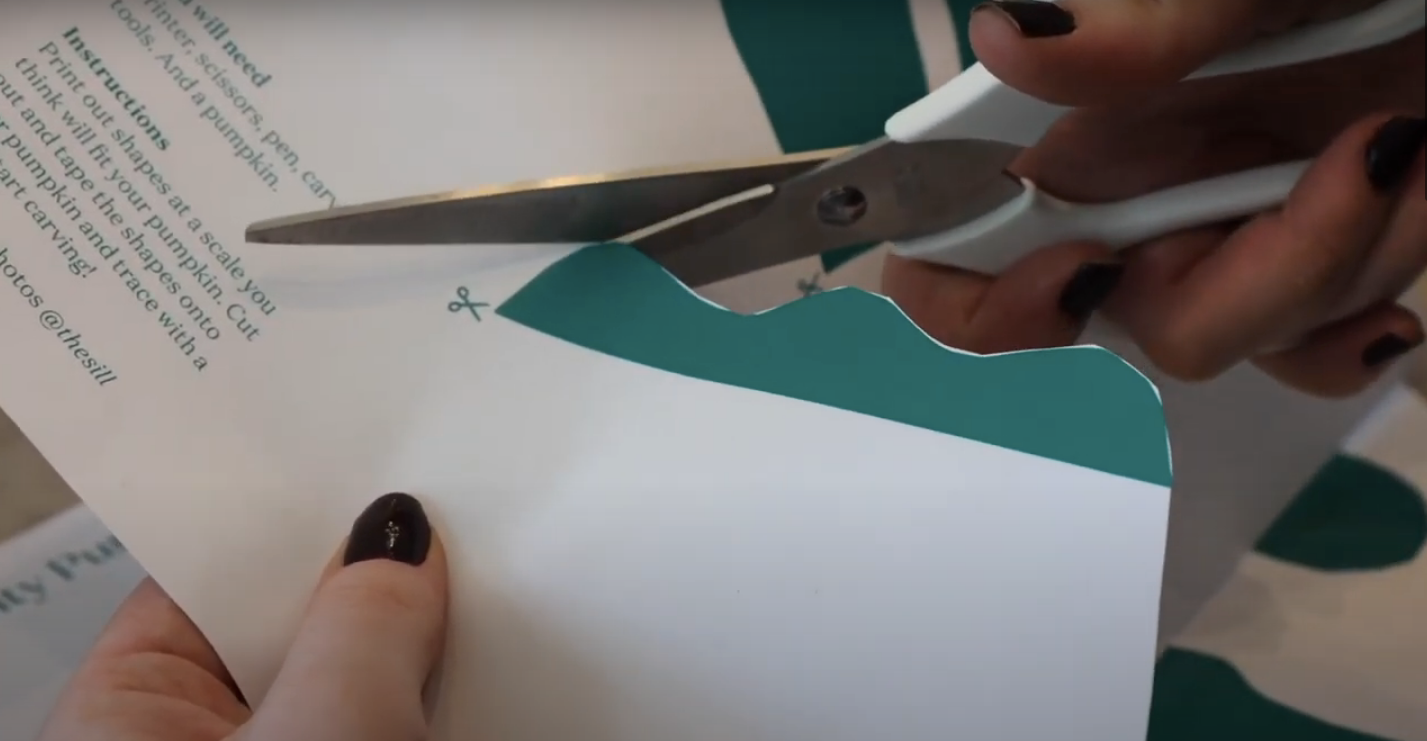
Once your pumpkin is cleaned out, start cutting out your favorite stencils with a pair of scissors. If you are carving your pumpkin, take the stencil cut out and place loops of tape on its backside so that you can stick the stencil directly on the pumpkin.
If you are painting instead, use the page with the stencil removed so that you can paint inside where the stencil once was and create the same shape.
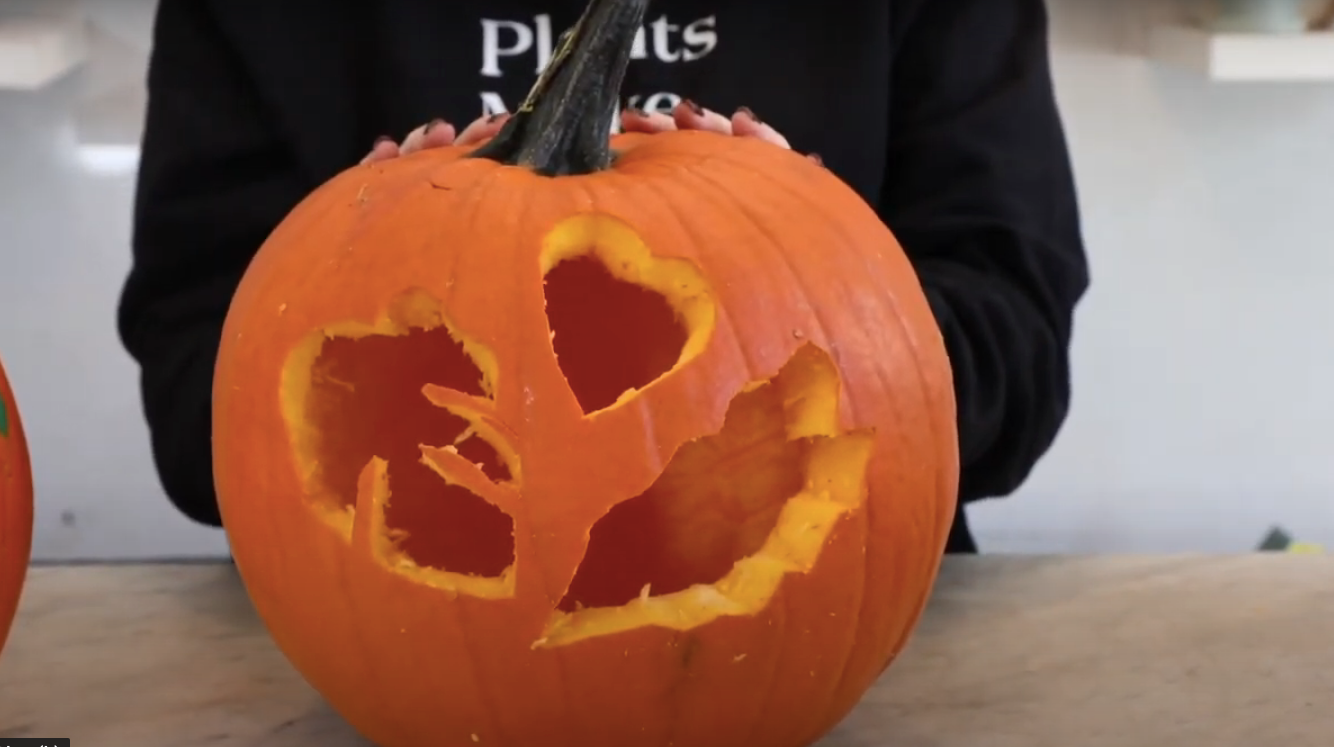
4. Start Carving Your Shapes
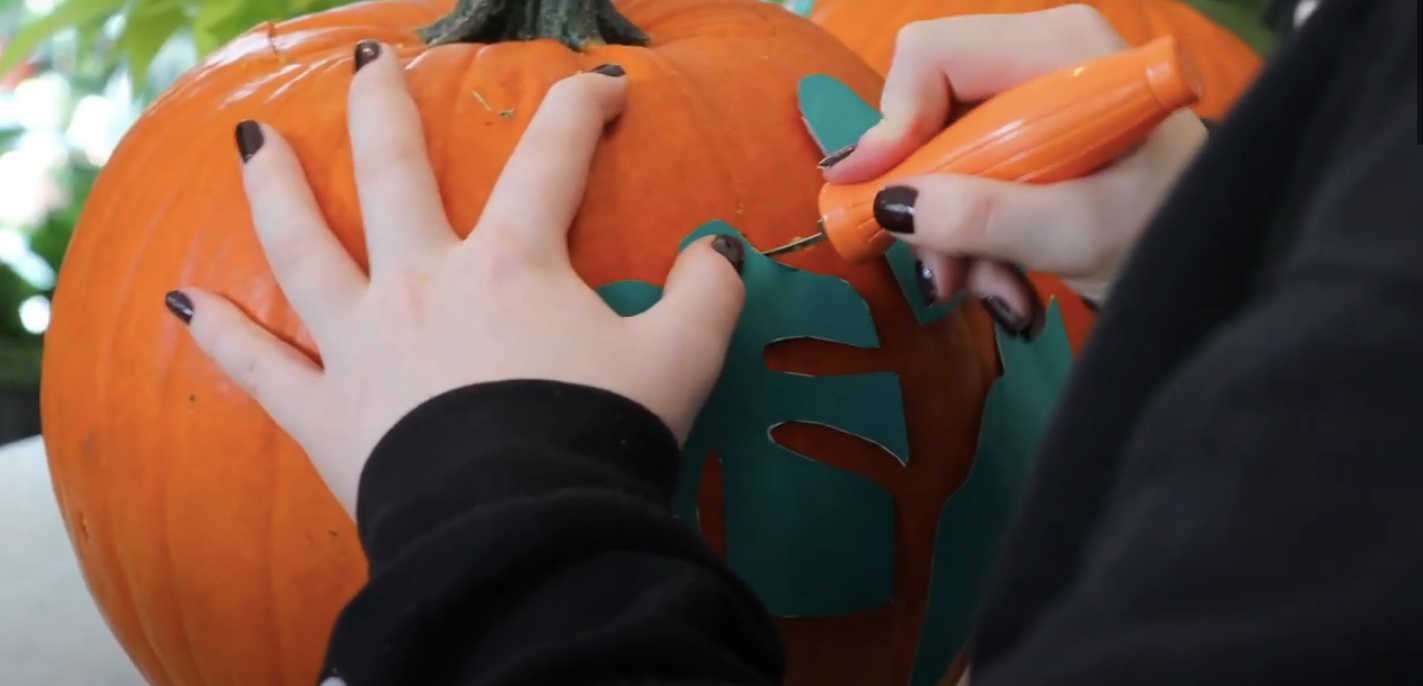
Once your stencils are taped on, use a smaller carving tool to follow the shape and cut into your pumpkin. Make sure that as you carve you are cutting all the way through to the inside of your pumpkin.
After you carve these designs, pop out the carved piece of pumpkin!
5. Add Your Finishing Touches
Once your pumpkin is carved to perfection, add a tea light candle on the inside so that it will glow at nighttime.
Words By The Sill
Empowering all people to be plant people—a collection of articles from The Sill’s team of plant experts across a variety of plant care topics to inspire confidence in the next generation of plant parents. Welcome to Plant Parenthood™.