Potting Plants for Beginners
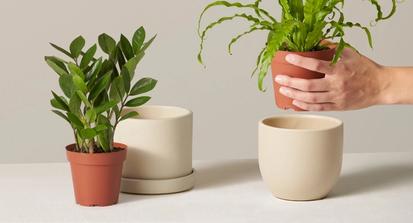
When you bring your new plant home in its plastic nursery grow pot, you might be tempted to pot it into a planter right away. However, you'll be more successful if you first let your new plant acclimate to its new environment. Place its grow pot inside its future planter, then place the plant with its interior and exterior pots in the spot you plan to keep it in. Let it acclimate for a few days.
Now that your plant has adjusted to its new home, you can move it from its grow pot into a planter. Remember, this is optional. You can wait a few more weeks, or even months, as long as your plant still has room to grow in its grow pot and looks happy & healthy. Some plant parents even prefer to keep their plants potted in interior plastic grow pots within decorative planters for the long run – potting "up" into larger grow pots as the plant grows throughout the years (learn more about potting up, or repotting, here). They do this for a variety of reasons, from creating drainage to making larger plants easier to move around their home. Do what works best for you, and don't be afraid to try different methods for different plants!
If you are going to move your new plant from plastic nursery grow pot into an earthenware or terra cotta planter, here's what you'll want handy:
- Your new houseplant, of course
- Newspaper or garbage bag to lay down for easy clean up
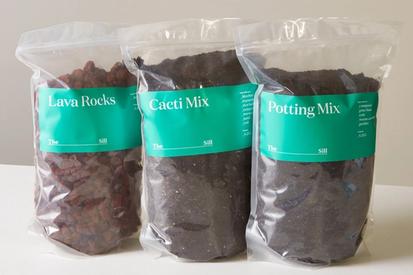
- Fresh potting mix or cacti mix
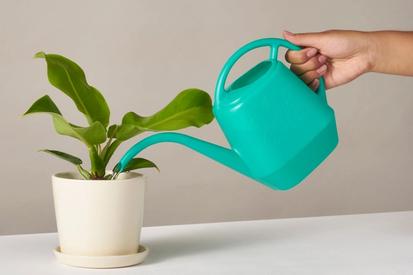
- A watering can, spray bottle, or kitchen faucet
- Scissors or pruners
- The new planter
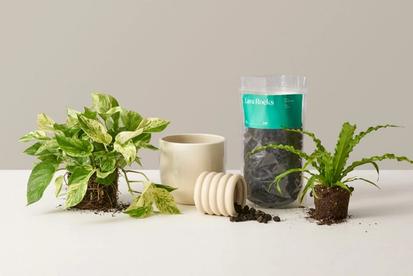
- Lava rocks or similar, if your planter does not have a drainage hole
Steps to Pot
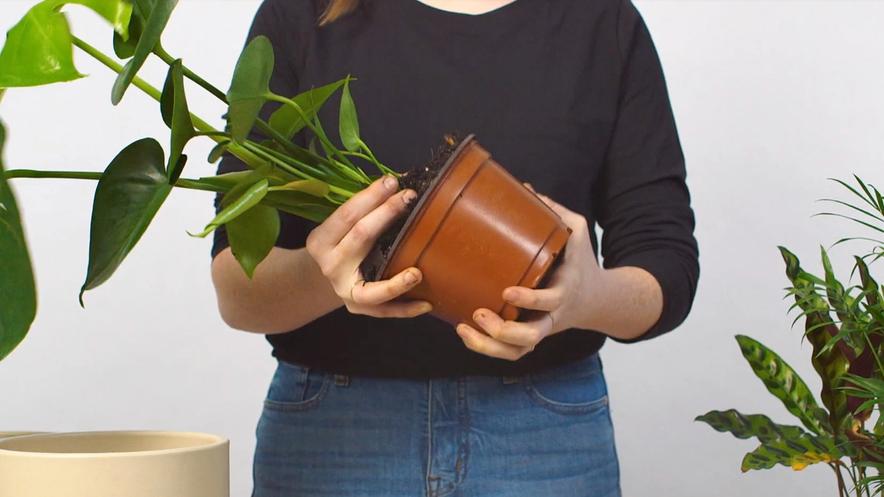
1. Turn your new plant sideways, hold it gently by the stems or leaves, and tap the bottom of its grow pot until the plant slides out. You might need to give it a bit of help with a couple gentle tugs on the base of the stems.
2. Loosen the plant’s roots gently with your hands. You can prune off any threadlike roots that are extra long, just make sure to leave the thicker roots at the base of the foliage. If your plant is root bound – the roots are growing in very tight circles around the base of the plant with barely any potting mix left in between them – unbind the roots as best you can and give them a trim. You may find yourself tearing them a little if you cannot finesse them apart, which is fine.
3. Remove about one third or more of the old potting mix surrounding the plant, from its grow pot. Your plant has removed most of the nutrients in that old mix anyway, so if you're going to re-pot it, might as well give it some fresh mix!
4. Pour a layer of fresh potting soil into the new planter and pack it down, removing any air pockets. If your new planter doesn’t have a drainage hole, layer the bottom with lava rocks or similar (rocks, gravel, etc.) before adding the potting mix. The goal is to create crevices for the extra water to pool into, away from your plant’s roots.
5. Set your plant that you removed from the grow pot on top of the fresh layer of mix in the new planter, making sure it's centered, then add potting mix around the plant until it is secure. Be sure not to pack too much soil into the planter, as you want the roots to breathe. You’ll also want to avoid piling soil all the way up to the top of the planter – instead leave some space below the lip of the pot. It’ll be difficult to water your plant properly if the soil is packed in too high, as water will rush off the sides of the pot without ever soaking into the mix below.
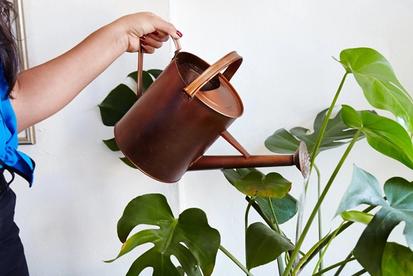
6. Even out the potting soil on top, water well, and enjoy!
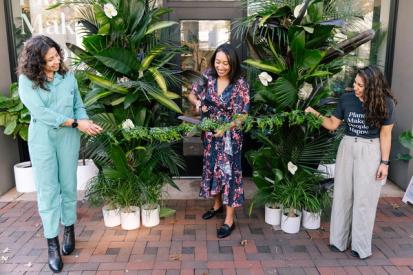
Words By The Sill
Empowering all people to be plant people—a collection of articles from The Sill’s team of plant experts across a variety of plant care topics to inspire confidence in the next generation of plant parents. Welcome to Plant Parenthood™.